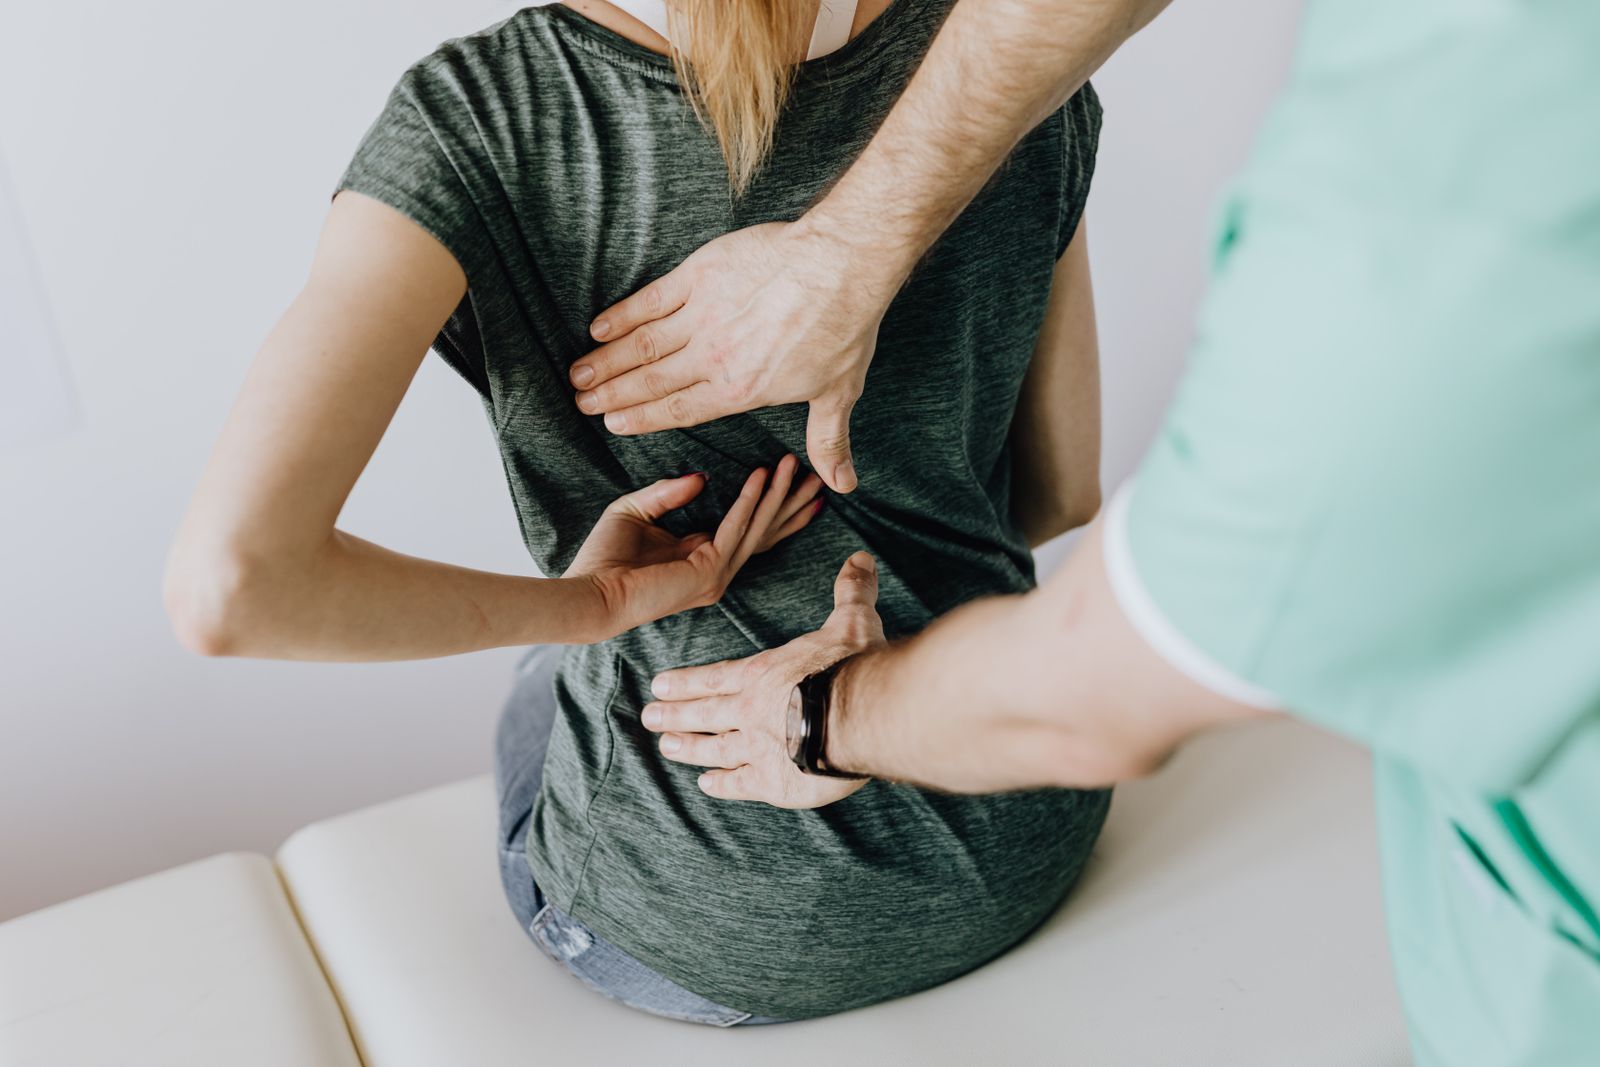
Most fitness advice starts with the workout. The smart version starts with the assessment.
If your right knee caves in slightly every time you squat, your left hip is doing extra work. If your shoulder rolls forward, your neck takes the load. If your foot pronates excessively, the entire kinetic chain above it compensates — knee, hip, low back, neck. By the time something hurts, the cause is usually three joints away.
This post is about seeing those compensations before they become injuries. We’ll cover the basic postural assessment (the plumb line), the most common deviations, how the kinetic chain links it all together, and the movement screens that take five minutes but tell you more than a year of generic programming would.
"Your body adapts to whatever position you spend the most time in. If you sit eight hours a day, your hip flexors win. If you stare at a phone, your upper back loses. The fix isn't strength — it's first noticing what you've trained into."
The Plumb Line — Static Posture, Explained
The simplest assessment in this entire post: stand someone in front of a vertical line (real or imagined) and look at where their body intersects it.
In a side view, an aligned body has five landmarks on the plumb line:
- Slightly anterior to the lateral malleolus (ankle)
- Anterior third of the knee
- Greater trochanter of the femur (hip)
- AC joint (shoulder)
- Slightly anterior to the mastoid process (ear)
In an anterior view, look for:
- Palms facing the lateral thighs, thumbs visible
- Patellae pointing straight ahead (not in or out)
- Feet pointing forward or slightly outward
- Symmetry in shoulder height, iliac crest height, hand position
In a posterior view, look for:
- Scapular symmetry (no winging or asymmetric tilt)
- Spinal alignment (no obvious lateral curve)
- Iliac crest level (no obvious hip hike)
The Six Most Common Postural Deviations
Each of these has a predictable pattern of tight (overactive) and weak (lengthened) muscles. Identifying the deviation tells you exactly what to address.
1. Anterior Pelvic Tilt
- What it looks like: Lower back arched, belly forward, tailbone tipped up
- Tight: Hip flexors + lower back erectors
- Weak: Hamstrings + lower abs
- Cause: Sitting all day. The classic desk-worker pattern.
2. Posterior Pelvic Tilt
- What it looks like: Tailbone tucked under, flat lower back, slight lean back
- Tight: Hamstrings + lower abs
- Weak: Hip flexors + lower back
- Cause: Often habitual — overcorrection from past back pain, or specific training patterns.
3. Forward Head + Rounded Shoulders
- What it looks like: Head juts forward, shoulders curl in, upper back rounds
- Tight: Upper traps, cervical extensors, pec minor, lats
- Weak: Deep cervical flexors, mid/lower traps, rhomboids, serratus anterior
- Cause: Phones, laptops, anything that pulls the eyes down.
4. Scapular Winging
- What it looks like: Medial border of the shoulder blade pops out from the rib cage
- Tight: Pec minor
- Weak: Serratus anterior, rhomboids
- Cause: Often a sign that core/scapular stability hasn’t been built before loading the shoulders.
5. Scapular Tipping (Anterior Tilt)
- What it looks like: Inferior angle of the shoulder blade lifts off the back; the bottom of the blade pokes out
- Tight: Pec minor
- Weak: Lower trapezius, serratus anterior
- Cause: Same as forward shoulders — chronic chest-dominant posture.
6. Hip Adduction (Pelvic Hike)
- What it looks like: One hip elevated higher than the other
- Tight: QL and obliques on the elevated side
- Weak: Hip abductors (gluteus medius, especially) on the elevated side
- Cause: Sleeping on one side, carrying weight on one hip, leg-length differences.
The Kinetic Chain — Why a Foot Problem Becomes a Knee Problem
The body doesn’t work in isolated parts. Every joint affects the joints above and below it. This is the kinetic chain, and it’s the single most important concept in movement assessment.
The Foot Pronation Chain (textbook example)
Here’s what happens when someone has tight calf muscles (gastroc/soleus):
- Tight calves pull the heel bone (calcaneus) into eversion
- Subtalar joint pronates (foot rolls inward)
- Tibia rotates internally
- Femur follows — internal rotation of the femur
- Knees track inward (valgus collapse)
- Pelvis tilts anteriorly to compensate
- Lumbar lordosis increases
A “knee problem” that started in the calf. Treating just the knee with a brace or quad strengthening misses the entire chain.
Other key kinetic chain insights:
- The pec minor is small but powerful — when tight, it pulls the coracoid process forward, which dumps the entire scapula into forward tilt. Hours of computer work tightens it; mid-back stretching alone won’t fix it.
- Hip flexor tightness doesn’t just affect the hips — it pulls the lumbar spine into extension, which is why so many “low back issues” are actually hip issues.
- A weak serratus anterior can’t keep the scapula flat against the ribs, so it wings — which then makes overhead pressing painful or impossible.
The lesson: when something hurts, look at the joints above and below before assuming the painful joint is the problem.
The Movement Screens
Five-minute assessments that reveal what an hour of palpation might not. The two most useful:
Single-Leg Squat — 5-Rep Protocol
Have someone perform 5 controlled single-leg squats to a low chair or box. Watch for one specific compensation per rep:
| Rep | Watch for | What it suggests |
|---|---|---|
| 1 | Foot stability — does the arch collapse? | Tight calves, weak intrinsic foot muscles |
| 2 | Knee tracking — does the knee cave more than 2 inches inward? | Weak glutes, tight adductors, foot pronation |
| 3 | Hip drop — does one hip drop on the way down? | Weak gluteus medius on the standing side |
| 4 | Torso stability — does the trunk lean or rotate? | Weak core, dominant hip flexor |
| 5 | Ankle deviation — does the foot turn out or in? | Mobility restriction at the ankle |
Overhead Squat — Key Compensations
Have someone squat with arms held straight overhead. Watch for these:
- Forward torso lean → tight ankles or hip flexors
- Heels rise off the floor → tight gastrocnemius/soleus (calves)
- Lower back arches → tight hip flexors + lats
- Arms fall forward → tight lats and/or pec minor
- Knees cave inward → see foot pronation chain above
- Weight shifts to one side → asymmetric tightness or weakness
Thomas Test — Hip Flexor Length
A specific assessment. Lie face-up on a table, pull one knee to the chest, let the other leg hang off the edge.
- If the hanging leg stays flat against the table → hip flexors are normal length
- If it rises off the table → hip flexors are tight
- If the knee on the hanging leg extends → rectus femoris is tight specifically
Don’t do this test on someone with acute low back pain unless they’ve been cleared by a clinician.
Core Endurance — The Forgotten Assessment
Most “core training” is performed by people whose core never gets tested. These are the three timed isometric tests that actually measure trunk endurance:
1. Trunk Flexor Test
Sit at a 60° angle with knees bent, feet flat. Hold the position. Time how long until you can no longer maintain it. Measures rectus abdominis, obliques, transverse abdominis.
2. Side-Bridge Test (per side)
Side plank position on one elbow. Time the hold. Tests transverse abdominis, obliques, QL, erector spinae on the loaded side.
3. Trunk Extensor Test
Lie face-down on a bench with the upper body hanging off, holding the position parallel to the floor. Time the hold. Measures erector spinae and multifidi.
The diagnostic that matters most: the side-bridge ratio (right:left). It should be roughly 1.0 — symmetric. If one side is 10–15% less than the other, that asymmetry is clinically significant and predicts low back issues.
"More than absolute numbers, the ratio between sides is the predictor. A 90-second side bridge on one side and 60 on the other is a worse profile than 60 on both."
Power Tests — Only For Trained Athletes
Standardised power assessments (vertical jump, broad jump, medicine ball throw) exist, but most published norms come from college and professional athletes. They’re not appropriate for older adults, beginners, or general fitness clients. For most people, the most useful power “test” is just tracking personal baselines over months — not comparing to external norms.
Assessment Order Matters
Before you do anything else with someone (yourself or someone you train), the sequence is:
- Health screening — clear any red flags
- Static postural assessment — observe baseline alignment
- Movement screens — identify dynamic compensations
- Core endurance tests — measure foundational stability
- Goal-specific assessments — only after the above
Skip ahead and you’re building strength on top of dysfunction. Get the order right and the strength you build is durable.
Key Takeaways
- Posture predicts performance. What you stand and sit like shapes how you move.
- Six common deviations account for most postural issues you’ll see. Recognise the patterns; the corrective work follows.
- The kinetic chain is real. Knee pain often starts at the ankle or hip. Always assess up and down.
- The single-leg squat in 5 reps tells you more than most hour-long assessments.
- Side-bridge ratio (R:L) ≈ 1.0 is the goal. Asymmetry > 10–15% needs attention.
- Assess before you load. Strength on top of dysfunction is just amplified dysfunction.
Want the technical, exam-prep version of this?
Read the ACE Chapter 10 Deep Dive →